
This no pattern elasticated waist skirt project is so simple and satisfying. It’s a really quick make geared towards total beginners, or more confident sewers with a couple of hours to spare. Delve into your stash, choose your fabric, and let’s sew!
Why share the no pattern elasticated waist skirt?
Mothering Sunday seemed an appropriate day to launch the first in my new blog series. I wanted to share easy sewing tutorials geared towards total beginners.
No matter what age it’s never to late to start sewing. Some of the projects in this section will be with children in mind while others will be aimed at adults and some suitable for both.

Join the Bobbins and Buttons newsletter for free patterns, special offers, and sewing tips!
I thought the no pattern elasticated waist skirt tutorial might be good for some special mother daughter bonding time. I have many great memories of sewing with my mum, who was a great inspiration to me and taught me many of my sewing skills.
Its a great sadness that my mum never got to meet any of her grandchildren. I think if she was here today we might have three generations spending some girly bonding time sewing together.
That said between my two children it’s my little boy who is the bigger fan of sewing. I will definitely be including some projects that boys would like to make and for boys too.
No pattern elasticated waist skirt tutorial
This is a simple elasticated waist skirt that you can make without a pattern for any size following these instructions.
I have deliberately made it an A-line skirt rather than much fuller style as it uses less fabric. It can feel a little uneasy cutting up metres of fabric when you are unsure of your skills.
Are you ready to start making an elasticated waist skirt without a pattern? Then let’s do this!
Selecting the fabric for your no pattern elasticated waist skirt
Choosing the right fabric
The no pattern elasticated waist skirt works well in craft weight cotton, cotton lawn or other similar weight blends. Woven cottons are easy to sew and a great place to start. I used Lady McElroy Botanical flamenco print lawn for these skirts.
How much will you need?
The quantity of fabric will vary depending on the size of skirt you are making. Its best to do the maths first and then work out how much fabric you will need.
If you can fit the width of the skirt on the folded width of the fabric you will only need fabric measuring your overall length measurement. If not you will need twice the length measurement.
You will also need thread and 2.5cm wide elastic – enough to go round your waist with a small overlap.
Drafting your pattern
OK yes, I know I said you wouldn’t need a pattern! But you do need to know where to cut the fabric, so this is your quick and dirty made-to-measure guide.
You can draw the pattern out directly on to your fabric, or if you prefer, draw it out on paper first and then use this as a pattern for your next elasticated waist skirt.
Either way you will need a ruler with right angle markings.
Steps to drafting your elasticated waist skirt pattern
1. Measure your waist and hips
To make the pattern or mark out, first measure your waist and hips. Place the tape measure around your waist making sure the tape is straight and not sagging. The tape should be firm but not to tight. Do the same for your hips. Write down the wider measurement of these two.
2. Add 25% to your measurements
Now add 25% of this measurement to your sum. For example a hip measuring 97cm/38″ add 25% = 24cm/9.5″ Total measurement = 121cm/47.5″
3. Give yourself a seam allowance
In addition to this add 6cm/2.5″ for seam allowances – 1.5cm each side front and back. Now you have a total measurement of 127cm/50″.
4. Then halve the total
Our skirt will be formed from two pieces of fabric, so you’ll need to divide your total in half. In this case our total = 63.5cm/25″.
4. Measure the desired length for your skirt
Decide how long you would like the skirt to be when finished. Add 10cm/4″ to this length. In this case finished length 51cm/20″ with turnings 61cm/24″.
The other measurement you will need is 5% of your first width measurement in this example 5% of 121cm/47.5″= 6cm/2.4″
How to make the no pattern elasticated waist skirt
- To make the no pattern elasticated waist skirt, first lay your fabric out with the selvedges matched. Unless you are making a pattern draw a right angle from the fold of the fabric. This ensures you are working on the straight of the grain. This is the top of your skirt the line needs to measure your final divided measurement in this example 63.5cm/25″. From this line draw another two right angle lines your length measurement in this example 61cm/24″. Join the lines to make a square. If your measurement is wider than the half width of the fabric you will need to open the fabric out fully and use the selvedge edge as your right angle point.


2. Once you have your square – mark a point in from the side at the top of the skirt half your 5% measurement in this example half of 6cm/2.4″ = 3cm/1.2″ from this point draw a line to the hem edge so that the skirt side seams are slightly angled. Cut the skirt pieces out. You may want to pin the two layers together so they don’t move while you cut. If you have had to mark on a single layer, lay your marked out work on top of another piece of fabric with the selvedges matched. Pin the two together and cut out.

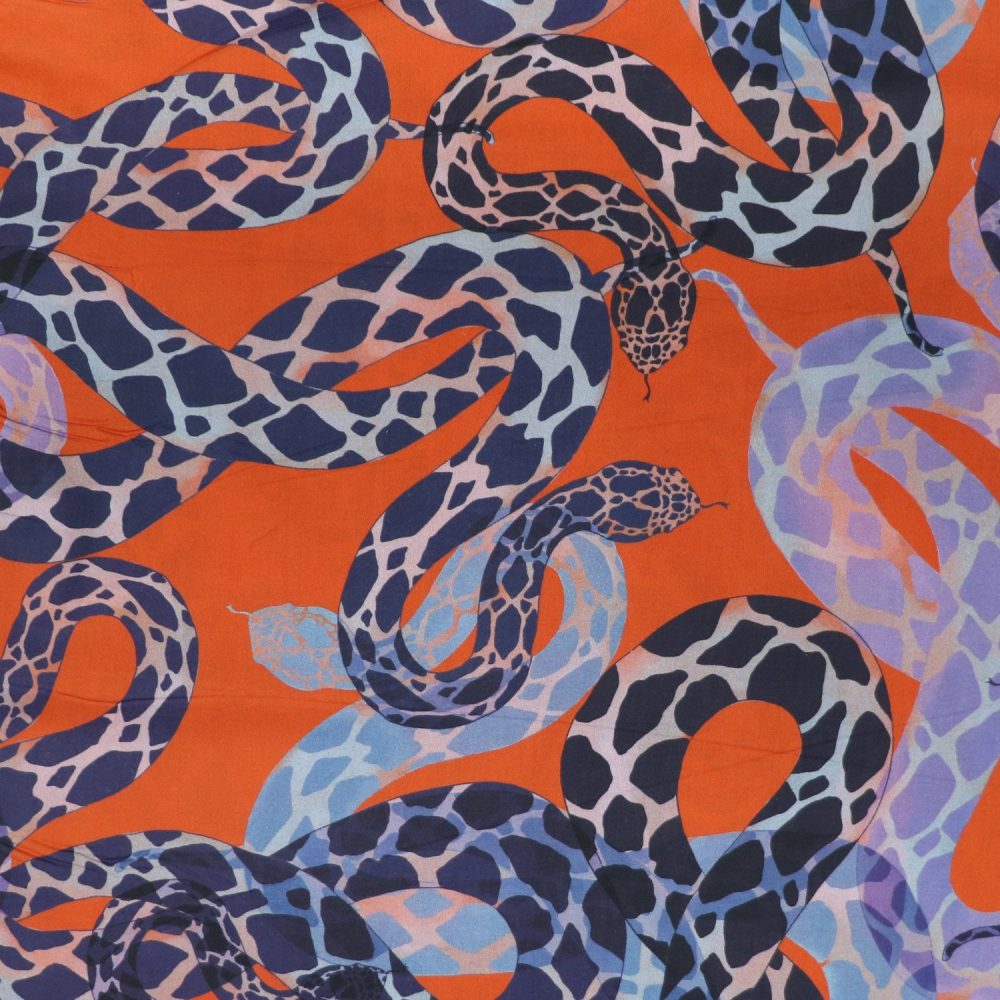
Exclusive Lady McElroy – Python Party – Cotton lawn.
3. Join the side seams. If you are completely new to sewing machines you will notice some grid markings on the plate near the sewing machine foot. These can be used to help sew straight and even seam allowances. We have allowed 1.5cm seam allowance for this skirt. Line your raw edge up with the line that is marked 1.5cm/5/8″ or if its not clear measure from the needle out to check. This is really worth getting to grips with early on if your aim is to sew clothing. Varied and uneven seam allowances are likely to change the overall finished size of a garment which might be important to fit. In this project if it goes a bit wobbly or uneven it won’t be a problem.

4. Once you have sewn the side seams neaten the raw edges. On the left I have used an overlocker which gives a neat professional finish, however you may not own an overlocker at this stage. An alternative is using a zig-zag stitch as shown on the right. This will still serve the purpose of neatening the raw edge and preventing fraying when the skirt is washed. Press the side seams towards the back.

5. To make the channel for the elastic, turn the upper edge in approximately 1cm/3/8″ Press this edge so it stays in place.

6. Turn this folded edge in again this time measuring 3.5cm/1.1/2″ Check the measurement is accurate, pressing as you go round. This channel needs to be wide enough for the elastic to fit comfortably inside.

7. Pin around this edge to hold in place. The stitching needs to be around 2-3mm /1/8″ from the inner folded edge. It is important not to make the channel to small or the elastic may not feed in. Leave a gap somewhere away from a seam for threading the elastic. I like to place two vertical pins for where to start and finish. The gap size should be roughly 8cm/3″.

8. Cut a piece of elastic to approximately 2.5cm/1″ bigger than your waist size. Attach a safety pin to one end and thread into the channel. Be careful to keep hold of the other end so it doesn’t disappear inside.
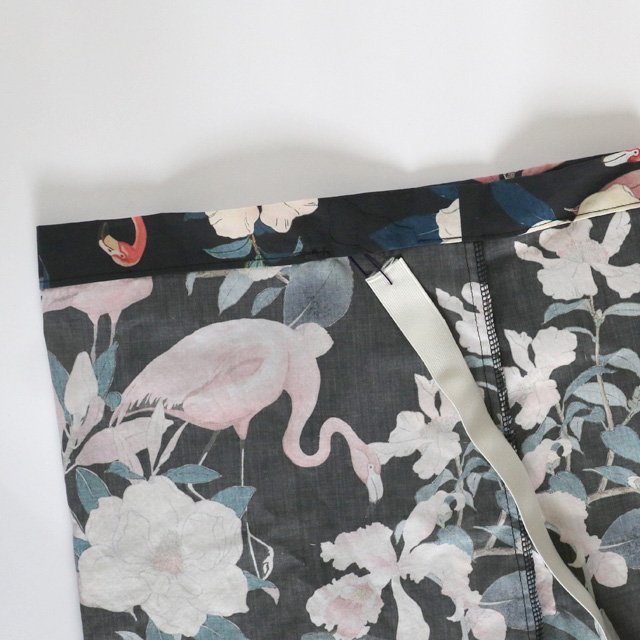
9. Once all the way round bring the two ends of elastic together, make sure the elastic is not twisted in the channel. Lay one end on top of the other by the overlap amount that you allowed.

10. Stitch the elastic together, its not to important how you stitch the elastic together as long as it is secure.

11. Let the elastic feed back inside the channel and pin the gap closed. Stitch the gap closed grading on from the original stitching line, reinforcing at the beginning and end with a few back stitches.

12. Fold the hem up. In the same way you pressed the elastic channel, turn and press a single 1cm/3/8″ turning followed by a 1.5cm/5/8″ turning.

13. Stitch close to the inner edge, Reinforcing with a few back stitches where the stitching meets.

Hey presto your cute and super comfy no pattern elasticated waist skirt is all complete!

Ready for more simple sewing projects?
There are a bunch of free patterns on the website for you to try out your skills. The kids elasticated waist shorts pattern is a great one for an easy summer make, or a me-made gift for nephews, nieces or grandchildren.
Happy sewing, and enjoy your fabulous new no pattern elasticated waist skirt!

